Wow! Last week we got down into the 30's, tomorrow it's supposed to be in the 90's. I guess God doesn't want us to get bored so He's keeping things interesting.
The new building is done on the outside.
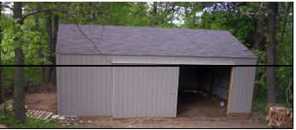
Now we just have to finish it on the inside so we can start moving things down to it from the old building - the one that's going to be the Ginger's Cameo facility. I can hardly wait. We've had a lot of rain lately and that makes it hard to get the cement and all done.
But - we'll get it done soon.
Now for what I have been doing this month: I decided that since we have all these new paints it's time to change the Kits around and up-date them so that they make more sense. When I first took over the Company we had a lot fewer paints. As we added paints I tried to up-grade the kits somewhat - but now they really, really need to be changed around a lot.
When I first started I had the Deluxe Kit. I tried to arrange the rest of the kits so that you would wind up with a complete Deluxe Kit by buying some of the smaller kits. I fixed it so that you would not be doubling up on colors too much when you did that.
Then we designed the new Carrier and when I had 54 paints (which are how many it held originally) in the line I put out a Super Deluxe Kit that had all the paints and different accessory pens that we carried at that time.
Now that we have re-designed the Carrier so that it holds a full 60 paints and we have a zip-lock "Accessory Bag", I have to see how I can fix the kits so that you, or your customers, can either buy a Super Deluxe Kit or be able to split it down into multiple kits that you can buy in littler amounts at a time and wind up with a Super Deluxe Kit and the accessories to go with it.
First of all I changed the K000-Super Deluxe Kit. I took out the Sparkle Paints, (since you can buy them in a kit on their own,) and put in the first 60 regular paints in the Line. I took out most of the accessories so I could keep the cost pretty much the same. I added in the Carrier, a Black Dual Point Pen, a Black Heat Marker, a set of Fiber Blenders, a package of Tips, the White Ultra Fine Line Pen, a Sandpaper Blotter, a transfer to practice on and a practice block. I kept the cost at $210.00 just like it was before, with more savings ($28.80).
Next I needed to break the above Kit down into smaller parts - but in a way that you have the whole thing when you're done.
The K001-Deluxe Kit was next on the list. Originally this was all the paints that were in the Line. It still has 40 paints in it with only one change, I took out the 135-Red Sparkle and put in 132-Old Copper (since 135 is in the Sparkle Kit). I left in the Carrier, a package of Tips, a Black Heat Marker, and a Black Dual Point Pen and added a Sandpaper Blotter. I kept the price at $145.00 with a savings of $21.00.
The next step was to make the K002-1/2 Kit pretty much the other half of the Super Deluxe Kit. Going back through the list I put in 30 regular paints and the rest of the accessories that are in the Super Deluxe Kit, like the White Ultra Fine Line Pen, Fiber Blenders and I put in a Mini-tote, because you are going to need it to hold the extra paints. The cost went up a little -$95.75 with a savings of $11.00.
Between these two kits you have almost all of the regular paints and a little bit of each of the different kinds of accessories.
It's kind of nice having a few extra paints not included in the above Kits. If someone buys a few paints to try them out - then decides to buy the Kit - you have some paints not included in the Kits to exchange for the paints that they already have -and they don't have to have doubles right away.
I made a small change in the K003-Starter Kit. It still has 15 paints, but one of them is changed. I took out the 181 and put in 186. This kit is supposed to have enough paints in it that you can shade with them. The 181 was the third green in the kit and wasn't really needed at that point. The 186-Nasturtium will shade 103, 104 and go with the reds. It makes more sense.
I left the K007-Add-on Kit pretty much the same for now because there aren't enough other paints at this point to change it very much. I took out the 134-Purple Sparkle and added in the 200-Clear Base. (There was no need for the 134 to be there, again, because it comes in the K006-Sparkle Kit.)
K004 - K005 - K006 were not changed at all.
Well, I hope these changes meet with your approval. I have tried to tell you exactly why I changed each Kit and how. I think this will make your sales better and your customers happier. I have included a new 'Kits' page in the newsletter. Feel free to have it copied for your people, or order some from me at $.30 each.
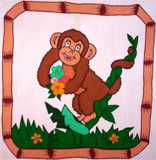
The Animal Quilt blocks are set up for outline and fill-in. These would be good for beginners. Children would love doing these colorful blocks. I have a couple schools that teach quilting classes to their students (elementary schools). These would be perfect to start a class at your school either during the daytime class times or in the after school latch-key times.
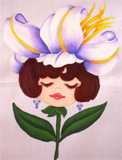
The Flower Face Quilt blocks give you a chance to teach shading and highlighting, how to use the Fiber Blenders to smooth the paints into the material and how to use them to smear the paint together in blending. These have you blending up to 4 or 5 different colors at a time. They, also, let you teach feather stroking as a technique to paint in hair and the fact that using lots of colors in hair actually make it look more real. This is an interesting class for everyone. 4-H groups could use this to make an entry-style project. You could get together with the leaders and teach them to teach, or you could run the classes yourself at their regular monthly meetings.
For those of you that are doing the Flower Face designs, I have a hint on their faces and make-up. Paint the entire face with the base color (105) and then do the lips. When you get done blending the colors of the lips together - use that same blending tool to blush a little of those colors on the cheeks. You don't want too much color and if you use your blending tool while the paint is still damp on it, it has just about the right amount of color to look like her blush. If you get too much on - just go back over it with the 105 to dull it down a little bit.
This is, also, when you put in the shadow color around her chin and on her nose.
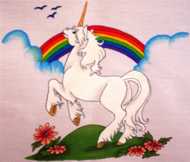
The Unicorn Quilt blocks take in even more techniques than the other two. The first thing that you teach is how to do a dry wash. You can use a brush or a small piece of rag. Almost everything in these pictures needs to be shadowed and highlighted. You have to use your Fiber Blenders all the time.
Wait for the base paint to dry before you use your Dual Point pen. These are used on the Flower Faces and the Unicorns. Do the base painting - then make sure the paint is dry before you use your Dual Point Pens. This keeps the Dual Point Pens from bleeding out on the perma press and keeps you from ruining your pen nib by getting wet paint on it.
It has been really interesting to see how these are going over. Every month more and more people are doing them. As they decide on doing another Set - they order all the previous Sets That they need to do the whole quilt. So every month I have people buying #1, #2, #3 and now they will be getting #4. It's very gratifying to see these go out in such large quantities.
I spend a lot of time just being amazed as I am packing orders to go out the door at how wonderful you all are.
I have gotten comments on the little hints that I put in each month. I'll keep trying to come up with new things to teach and things to teach about.
I have to say, again, how happy I am with the Fiber Blenders. As I sit down to paint up the newest transfers each month, I love using them because they are just the right size and shape to smooth and blend the paintings that I am doing.
When you smooth the first layer of paint into the material, you are giving yourself a nice even layer to put on your shading and highlights. Don't forget to do that - it makes everything much simpler.
AQ06 Animal Quilt Block Pak |
FFQ06 Flower Face Quilt Block Pak |
UQ06 Unicorn Quilt Block Pak |
The Carriers now hold 60 paints. Terri re-did them a little. They look great! You can still use some of the loops for your accessories, but you can now use them for paints, too. You can get 10 paints per row.
How about something for Father's Day? Say the transfer with the decoy and dried flowers (T4552), a Mini Flag to put it on, Fiber Blenders to smooth it and blend and shadow it and a Sandpaper Blotter to work on.
I can't put in the paints because I don't know whether you want to paint it as 'outline and fill-in' or make it a 'shaded and highlighted' picture.
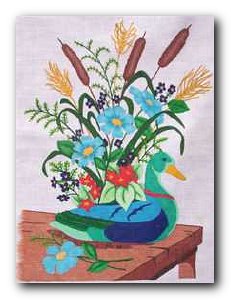
You can do it the way it's charted. You could actually just use your imagination and do it with a K004-Primary Kit or with a K003-Starter Kit. You can do it the way the Class Directions say.
I'm sure that any way you do it - it will be appreciated.
As you will notice - the amount of transfers being put out each month has slowed down some. I have been using the time to get the Quilt Block Club pieces done first - then working on new and old transfers - to get them out in the newsletter so you will eventually have everything in color. Soon I hope.
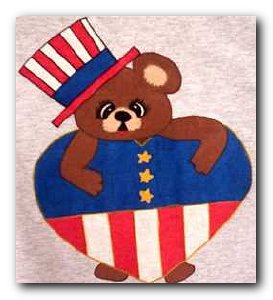
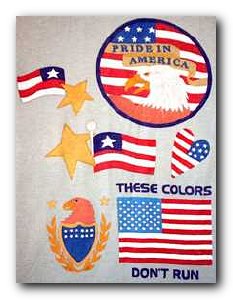
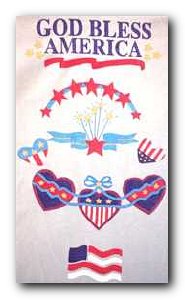
This transfer has multiple sizes of the design in it. You could do a whole family of matching shirts. It even has a part that is just the head of the bear with the red, white and blue hat, which would be perfect to put on a pocket. Think about it. These would be great for everyone to wear to those 4th of July barbeques that are coming up next month.
This is another great one for a 'guy gift'. You can just use the big part of the transfer, or you can cut out the smaller transfer and put it on also, so you have a close one and one that is farther away. When you want to do this, the easiest way is to put both transfers down at the same time so the lines you don't want do go on your project.
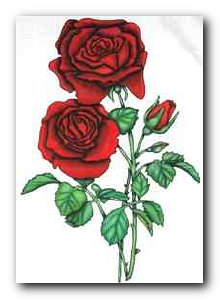
T4238 Roses |
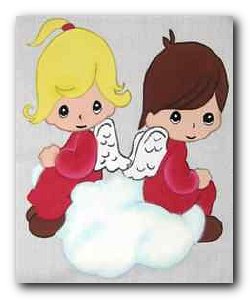
T4460 Cherished Times |
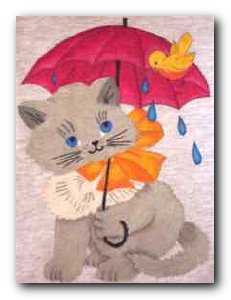
T4484 Rainy Day |
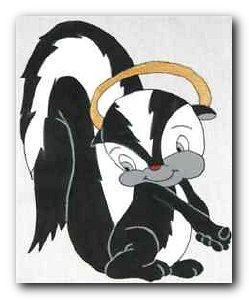
T4486 Skunk |
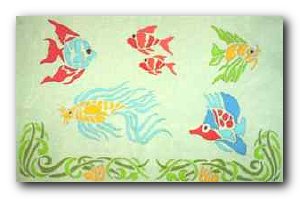
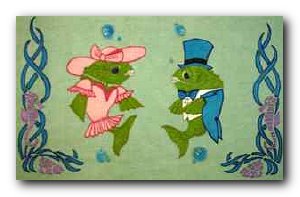
T4528 Neptune's Kingdom |
T4531 Two Of A Kind |
T4535 Pride In America |
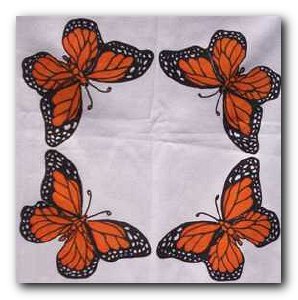
T4543 Butterflies |
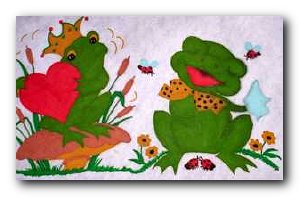
T4544 Joyful Frogs |
T4545 God Bless America |
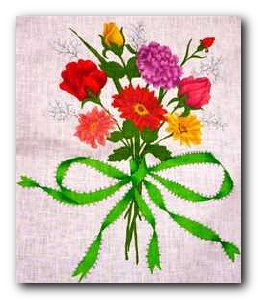
T4550 Easy Shade Bouquet |
T4552 Duck w/Flowers |
Both of them will be here at the Ginger's Cameo Facility. One will start at 11:00 AM and the next one will start at 7:00 PM.
At the first one, you need to bring a bag lunch. We will get everyone set up with what they need - then we will have lunch. We'll re-start at 12:30 PM on the class. I will be teaching placement and dimensionalizing. You can use either the T4552 or T4682 and put it on a t-shirt or a Mini Flag. This will get a Father's Day gift done early or maybe a birthday gift for later in the year.
Anything can be made to look three-dimensional and that is what I will be showing you.
Be sure to bring your paints and Fiber Blenders. Cost of the class will be $15.00.
On the newest Flower Face Quilt block you will be using a lot of different colors in the hair. This will make it more true-to-life. I know that when you look at the directions you will say, "Huh?" , but believe me it really will look good when it's finished.
I usually take the darkest color and streak it in where the shadows are going. Don't be careful - just streak in the direction the hair lines go. If it is a curved line make sure that the streaks you put in are curved. If it's a straight line, make sure the lines you put in are straight. This adds to the hair to make it look more real.
Next take the next lightest color and streak it in, then the next lightest color, etc. When you get all the colors streaked in, one on top of the other, you can go back and add a little to shadow color if you need to or to one of the other colors that you think need more. It doesn't really matter if you have a few little streaks that have no color on them. They just look like highlights if you've put the colors on in the shape of the hair. When you've got it so that you like the colors as you have them, then go back and add a couple of strokes of the highlight color (the lightest color) to give it that little extra dash of dimension. You could, also, streak in a little 340 or 341 at the last, to give the hair that alive and shiny look.
The easiest and least scary way of learning this is to take a piece of material and practice for a few minutes on that. The most important thing is to 'not be careful'. Don't draw the lines in - feather-stroke them in. If you go out of the lines that are drawn for the hair it just makes it look better. It looks more like hair if a few little feathery strokes show on the outside of the lines. (At least that's what my hair looks like.)
We would love to show our readers what you've done with Cameo Paints. Send us ginger@gingerscameo.com or webmaster@gingerscameo.com some of your pictures and be sure to tell us about them and yourself.
See some of our past reader submissions in the Gallery
Well, now I get to apologize. I got a new computer built for me so I could work faster and easier. I had half of the newsletter done when Razz came over to install it and set up my desktop and my laptop so they would work together. Then finding that I had things on my laptop that weren't on the desktop he had to start installing more things on the desktop. When he thought everything was ready, after many more hours than he thought it would take, he left and went home. Next day he had to come back and figure some other things out and get it where it worked the way we thought it should. I am still finding things that I took for granted on the laptop need to be installed on the desktop. Not faster yet!!! Hopefully by next month's newsletter I will know what I'm doing and be able to get it out on time. HaHa!
Okay, that's all for now.
I hope you all like what we're doing. Keep those suggestions and complaints coming. They are what make the Company what you want it to be. Rest your eyes for now, I'll write more next month.
|
Copyright Gingers Cameo 2003 © |
Page Updated 6-6-2006 |